IBM Code Engine and static hugo site
Scope
This is a tutorial/demo of getting hugo to work with code-engine from IBM Cloud.
Prerequiesits
- You need hugo installed, there’s a few different installation paths, check this out.
- Create a GitHub repostiory that you can push your
hugosite to.
Steps
hugo static site generator
- First thing you need to do is create a example hugo site, you run the following command:
NOTE:
code-engine-hugois just an example name
$ hugo new site code-engine-hugo
Congratulations! Your new Hugo site is created in /code-engine-hugo.

Just a few more steps and you're ready to go:

1. Download a theme into the same-named folder.
   Choose a theme from https://themes.gohugo.io/ or
   create your own with the "hugo new theme <THEMENAME>" command.
2. Perhaps you want to add some content. You can add single files
   with "hugo new <SECTIONNAME>/<FILENAME>.<FORMAT>".
3. Start the built-in live server via "hugo server".

Visit https://gohugo.io/ for quickstart guide and full documentation.
- Next test your site and create a
gitrepository, follow these next directions:
$ cd /code-engine-hugo
$ git init
$ git submodule add https://github.com/budparr/gohugo-theme-ananke.git themes/ananke
$ echo theme = \"ananke\" >> config.toml
$ hugo new posts/my-first-post.md
$ vim content/posts/my-first-post.md # just fill it with dummy text
$ hugo server -D
You should be able to see a site that says “My New Hugo Site”. The my-first-post.md
has a draft: true, when you want to make it real change that to false.
-
Now when you make changes or add posts you can run
hugo(without drafts) and the new site will be recreated inpublic/in that directory. -
Push your new site up to the GitHub repository and create the Dockerfile, and we’ll start configuring code engine next.
$ cd /code-engine-hugo
$ cat << EOF >> Dockerfile                                                                                                   [45/104]
FROM klakegg/hugo:latest

ADD . /src

EXPOSE 8080

ENTRYPOINT ["hugo", "server", "--port", "8080"]
EOF
$ git add .
$ git commit -m "inital commit"
$ git push origin main
- Just as a sanity check, lets verify that the container we have/built will work locally. Run the following commands and to test it:
$ docker build -t jjasghar/code-engine-hugo-example .
$ docker run -it --rm -p 8080:8080 jjasghar/code-engine-hugo-example:latest server
Start building sites …

                   | EN
-------------------+-----
  Pages            |  7
  Paginator pages  |  0
  Non-page files   |  0
  Static files     |  1
  Processed images |  0
  Aliases          |  0
  Sitemaps         |  1
  Cleaned          |  0

Built in 23 ms
Watching for changes in /src/{archetypes,content,data,layouts,static,themes}
Watching for config changes in /src/config.toml, /src/themes/ananke/config.yaml
Environment: "DEV"
Serving pages from memory
Running in Fast Render Mode. For full rebuilds on change: hugo server --disableFastRender
Web Server is available at http://localhost:1313/ (bind address 0.0.0.0)
Press Ctrl+C to stop

# In another terminal/webbrowser:
$ open localhost:8080
code-engine serverless platform
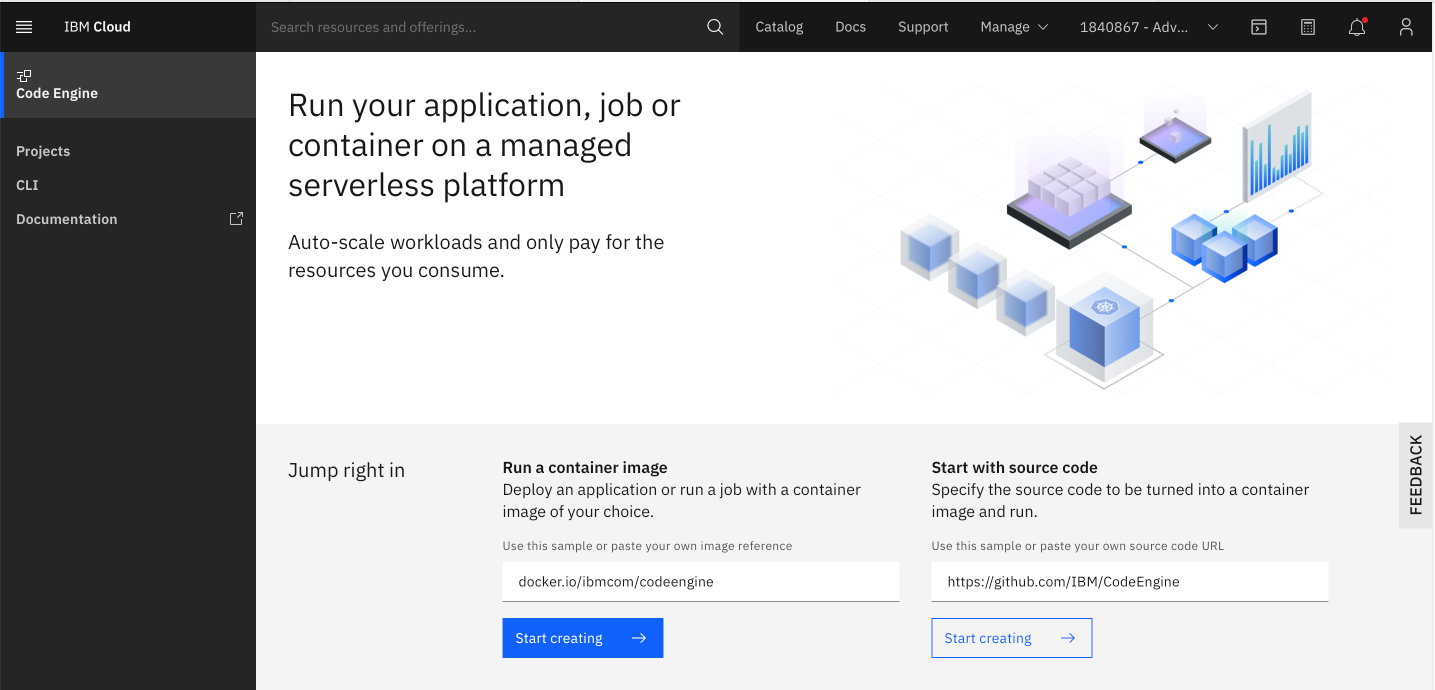
- Now that we have our repository on GitHub, login to the IBM Cloud console.
- You should come to the overview page.
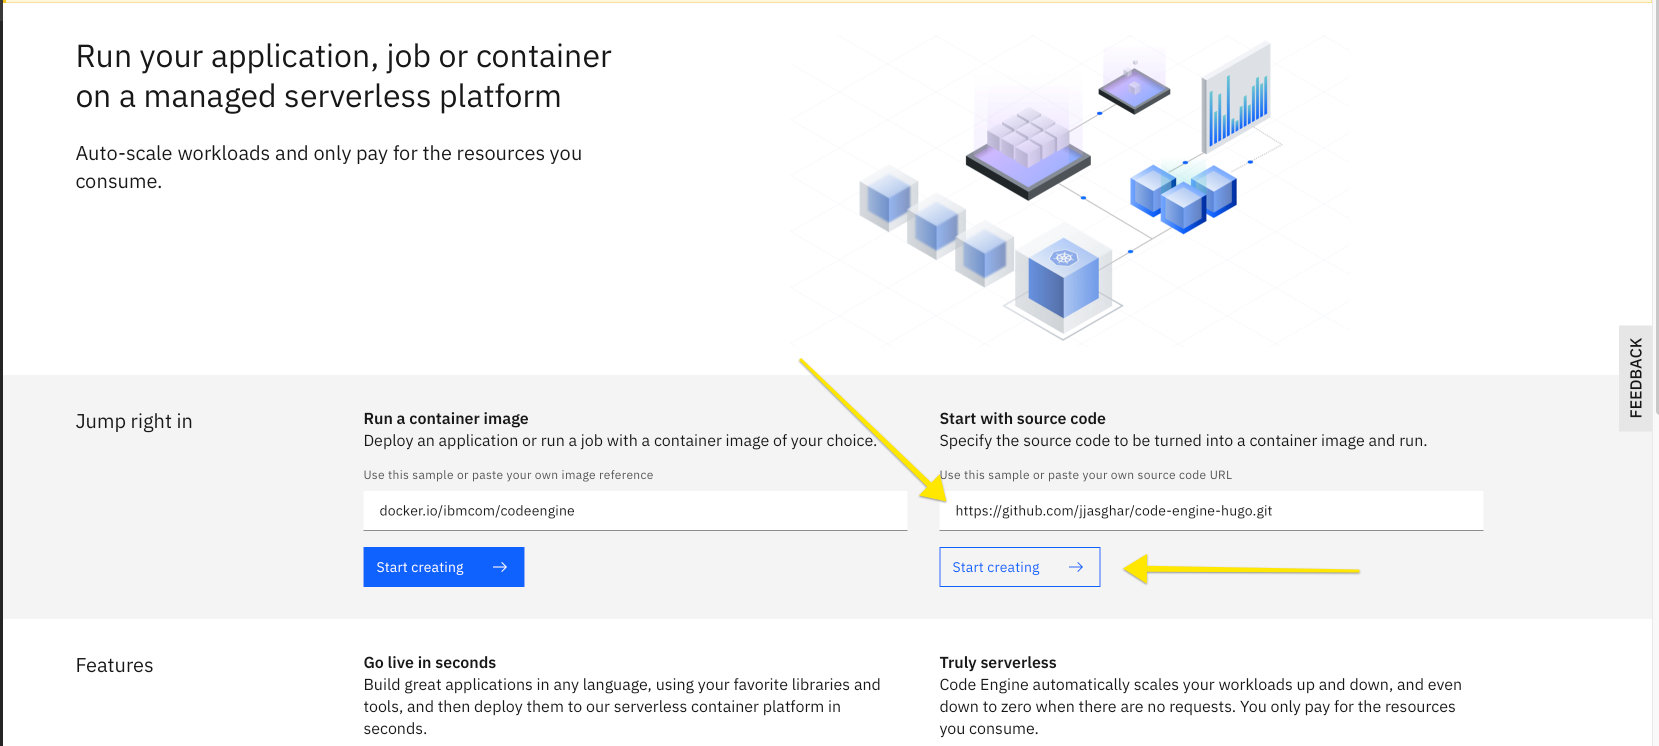
- Now take your repository from above and add it to the “Start with source code” entry box. And click “Start creating”
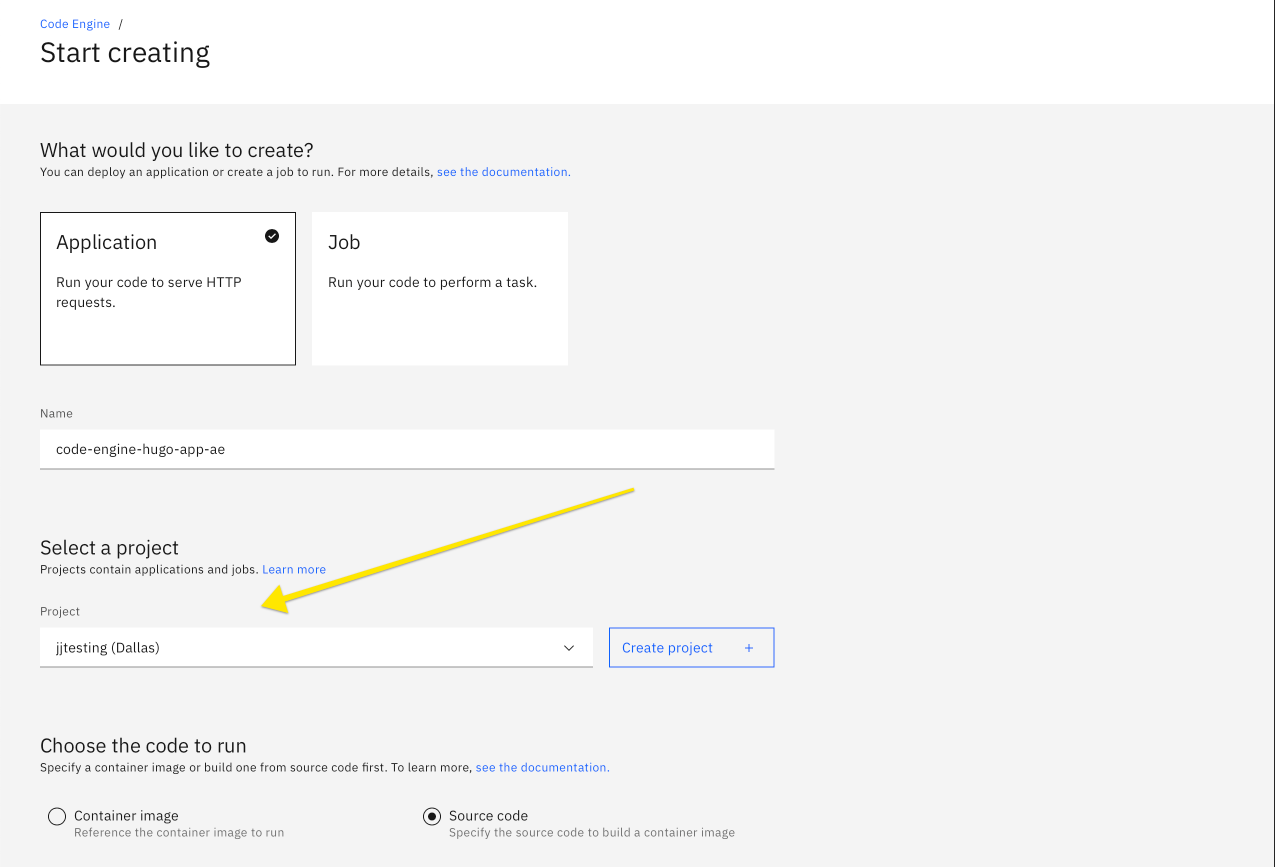
- If you haven’t created a project yet, create one where I’m pointing to, or select one like I have as “jjtesting”.
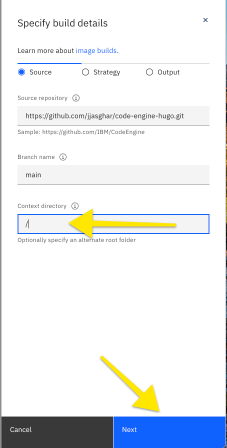
- Scroll down and click the “Specifiy build details” and put in
/as your root directory.hugoneeds to be able to find theconfig.tomlfile.
- Next you need to tell Code Engine where your
Dockerfileis, this is under the “Strategy” section of the build details:

- You’ll need to make sure it can see your
Dockerfileand add your credentails to Docker Hub. This will create a repository for you, build the container and push this container to it. NOTE: TheTagneeds to be unique.
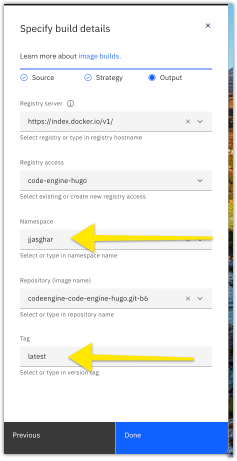
- Click “Done”, and “Create.”
Now if you open up the application URL you should have the hugo site!